Addressable LED tech atlas: Part 1
Originally posted on Medium
So, you want to play with addressable LEDs! Whether it’s for home decor, wearables, a hula hoop, making a video wall or winning Burning Man, they are great fun. However, once you know what you want to do with them, you need to decide what hardware and software to do it with. As often is the case, there’s no right and wrong choices, but there are better and worse choices. This can be quite daunting, so when the loud man at your maker meetup insists that “You should totally use a PixelPusher to drive some 2801s, but roll your own app in Processing”, like they did for their project, is it right for you? What is a PixelPusher? Is it larger than a duck? Can you git clone it? Is the man actually an Oracle salesperson who arrived at the wrong venue, is trying to sell you an enterprise license to something?
With this guide, I aim to provide a survey of significant technology choices, and a view of why people would prefer one over the other for their application. It assumes that you’ve gotten some LEDs to light up with an Arduino, or read through a guide for a project that you like. However, you’d like some help in joining the dots, and helping you decide on what hardware and software to bring together for your next LED project. It aims to provide breadth in the form of comparisons of techs, rather than depth of actual how-tos: those are already done much better than I can hope to achieve elsewhere. Furthermore, I’ll aim to cover the more popular options, because I believe that they are often better by the virtue of having more community discussion and support. If what you need is more niche, I hope this guide will help you answering the question of “Why won’t X work for you?”, which should help you find your right specialised solution.
I would suggest that you use this article as follows:
- Find a project guide on what you’d like to do. As with many things maker, Adafruit does an excellent job of producing and curating a wide selection. Instructables has an even wider range of projects to look at.
- If the guide helps you to achieve what you want, great! This article will be simply too much information.
- If what you’d like to achieve is different from the guides you are using as references, or you want to figure out if there are simpler, better, or just different ways to do that, use this article to understand why the authors might have chosen what they did, what else they could have chosen, how their requirement may differ from yours, and therefore, what might be some good avenues of exploration for you.
The article is compromised of two parts. The first (this part) covers most small/medium sized projects you’d want to undertake. This will cover the different types of LEDs, the electronics you’ll need to control them, libraries to help you program them, and a bit on how to power them.
The second will cover the extra technology pieces involved in more complex, less commonly seen projects, that require extra layers of abstraction (see: winning Burning Man). This would include dedicated hardware, network protocols and libraries for wider range of languages.
The LEDs
There are many types of addressable LEDs out there, but I’ll focus on four:
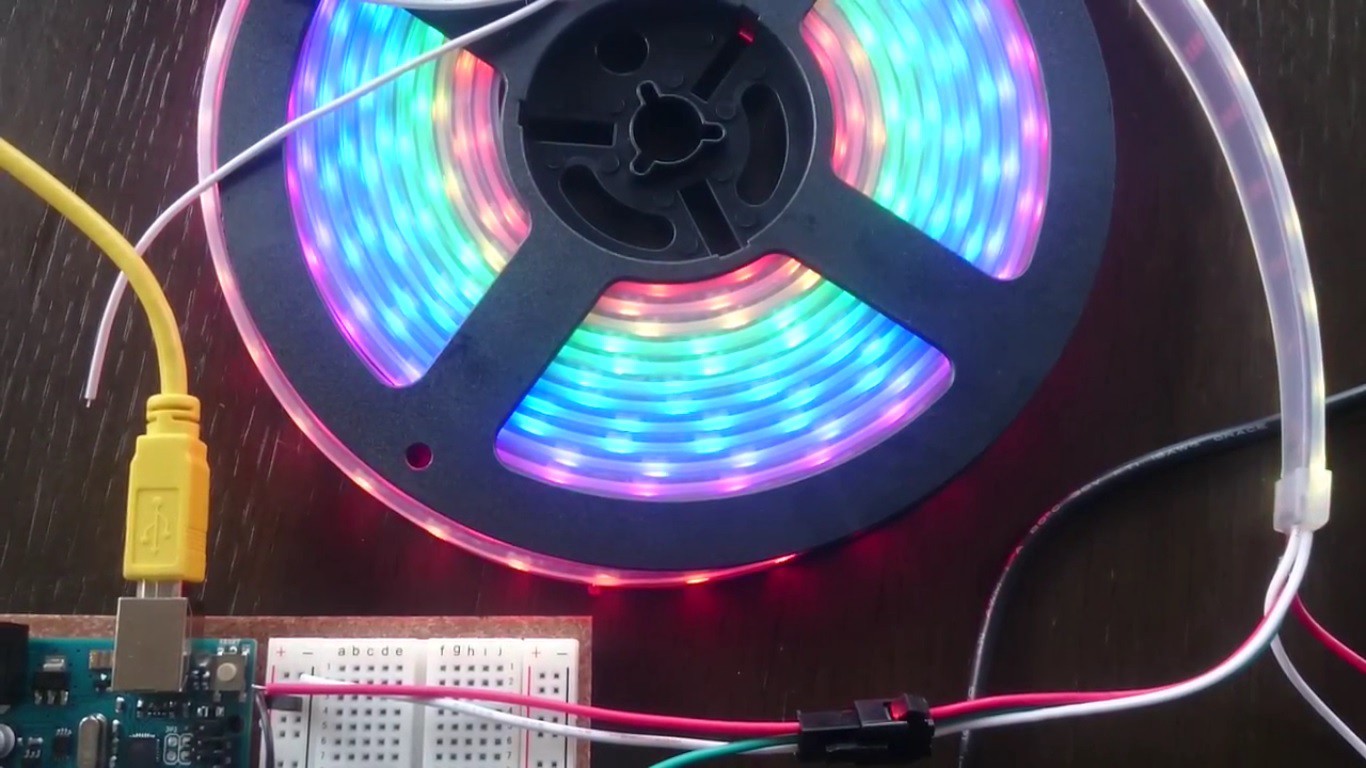
- WS2812: mostly seen in its WS2812b form, but also marketed as NeoPixels by Adafruit. These have become the de-facto standard for addressable RGB LEDs, used from wearables all the way up to giant installations. They are cheap, bright, compact and only require three wires. These factors have combined to make them wildly popular. The WS2812 contains a chip called WS2811, so you can see these used somewhat interchangeably.
- APA102: mostly seen in its APA102c form, marketed as DotStars by Adafruit. These are the new kid on the block. They are as compact as WS2812s, will have less flicker, works with Pis directly. However, they are more expensive and require four wires.
- WS2801 and LPD8806: think of these are precursors to the APA102s: four wires, relatively easy to control, but because the chips are separate from the LEDs, they are more bulky.
Which one? The default option is the WS2812s, if only because they are so widely available, cheap, and require 25% less soldering. If you have to mounting on them on something that moves fast and generate light trails (OMG LED Hula Hoops), have a look at the APA102s. The APA102s are also good if you need to control them directly into a Raspberry Pi. Use the older WS2801s or LPD8806s only if they are cheaper, more available, or come in a specific packaging you need.
On three v.s. four wires: the WS2812’s most distinct feature is that it requires only three wires. This means less cabling, less soldering and smaller connectors. As a consequence of this design choice, though, it need to be controlled by a very precisely timed signal, otherwise it will glitch/flicker more, or just not work outright. Something like a Raspberry Pi will be too busy running Linux (or similar) to be able to guarantee the precision required. Typically, we’ll use an Arduino-like board to do the job.
Microcontroller and Libraries
For most applications, you will want to control the LEDs using just your microcontroller of choice. This could be an Arduino (or equivalent), Teensy or even an ESP8266. There just a few things to note:
- It often takes more memory/faster processor to control more LEDs. However, you are unlikely to hit any limit until you have 500+ LEDs. The exception is the smallest boards, such as the Arduino Gemma, which only has 512 bytes of RAM, in comparison to 2kb in an Arduino Uno, or 64kb in a Teensy 3.2. These boards can only handle around 100 LEDs.
- Different boards send signals out at various voltages, whereas almost all LEDs are designed to receive signal at 5V. Therefore, something called a level shifter might be required for 3.3V (or lower) boards.
The task of converting the C code you write to actual signals sent to the LEDs along IO pins is typically done by a library. Unless you have a very good reason to, don’t try to do this yourself — this is a very general, but also solved, problem. You should probably be using one of these:
- Adafruit’s libraries: Adafruit provides libraries for NeoPixels (WS2812), DotStar (APA102), LDP8806 and WS2801. They are used extensively in most of Adafruit’s excellent LED project tutorials, including the extensive NeoPixel Uberguide.
- FastLED: this is a more sophisticated library. It supports most LEDs and boards you can think of, and is maintained and supported by its own strong community.
Which one? Adafruit’s library is relatively basic, allowing you to specify colours via RGB values. It’s an excellent entry point, especially if you are following Adafruit’s tutorials. It also glues into their Matrix and Graphics libraries, for basic animation work. However, if you find yourself writing or using a lot of framework code (e.g. animation, different ways to specify colour) to layer over the library, then it’s probably worth pausing and looking at what FastLED has to offer. This library has a slightly steeper learning curve, but provides a lot more built in functions, including HSV/RGB colour management, animation timing, and Perlin noise.
There are other libraries, such as OctoWS2811 and light_ws2811. However, they target more fringe use cases. I’d suggest that you explore them only once you’ve ran into a limitation of the more popular libraries.
Raspberry Pi
When controlling the four-wire LEDs from a Raspberry Pi directly, there is still some work involved in turning higher level code to control signals. Some libraries that do this for the APA102 include:
- Adafruit’s DotStar Pi: a Python module
- APA102_Pi: another Python(3) module
There are others libraries, of course, including ones for older LEDs. But as we are typically working with higher level languages on a Pi, with it’s megabytes of RAM, one would look at more general libraries for colour/graphic capabilities. The LED controller library has a smaller role to play.
Powering LEDs
The power requirement of having many LEDs add up very quickly. 10 WS2812s can draw up to 600mA, and a 5m strip of 60/m LEDs can draw up to 18A. Calculating your power requirement, and meeting that is a broader, electrical topic that goes beyond the scope of this article. However, a few popular approaches include:
-
Most microcontroller boards will have a 5V or 3.3V pin that can supply at least 500mA. using this pin will typically provide the neatest solution in terms of wiring. If you limit LED brightness, this solution can carry you surprisingly far, but do the maths.
- Direct battery power: a single cell Li-ion cell supplies between 3.3–4.2V, depending on chemistry and state of charge. This is often used for compact, wearable projects. Alternatively, AA or AAA batteries are also used. 3 Alkaline (non-rechargeable) or 4 lower voltage NiMH cells provide suitable voltage.
- Conveniently, USB is designed around 5V, and many solutions make use of that. A USB powerbank will often supply 1–2A at 5V, with the added benefit of safety cutoffs. Most cellphone chargers can also be used to supply 1–2A at 5V. Larger projects will use AC/DC adapters to supply power from mains at 5V, or buck converters to provide 5V from a large (typically higher voltage) batteries.
Next: Part 2 will cover more complex projects. These are typically bigger, both physically and in terms of number of LEDs. They also tend to have more complex control mechanisms, typically spanning a computer network.